Frequently asked questions
The fastest answers on how LetsThere works. If you can't find what you're looking for, the AI assistant (when available on your plan) can help too.
Account and getting started
Creating and managing events
Inviting people
Real-time map
Chat and emergency
Photos and videos
Calls and arrival time
Contact network
Plans and payment
Privacy and your data
How to use LetsThere
A quick guide, start to finish: set up your profile, create your first event, and invite whoever you want. Watch the video or follow the steps below, with real screenshots of the app.
Real screen recording of the platform — from sign-up to a created event.
- 1
1. Create your account
1. Create your account
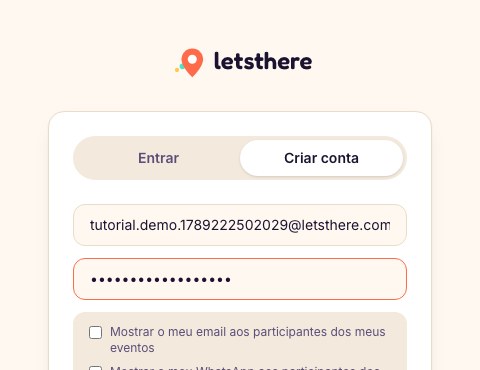
Sign up with email and password, or use Google/Facebook in one click. You can already choose whether to share your email/WhatsApp with your events' participants — this can be changed anytime in Profile.
- 2
2. Fill in your Profile
2. Fill in your Profile
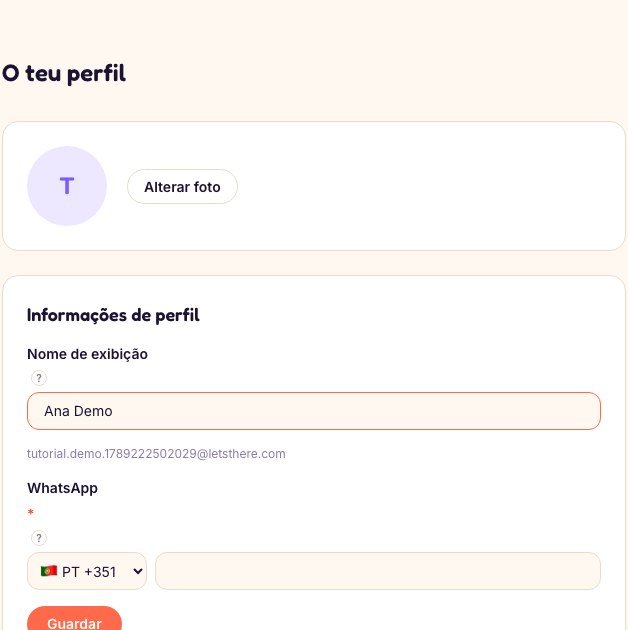
Set your display name (what others see) and your WhatsApp — use the "?" icon next to each field to see exactly what's asked. This is also where you choose your plan.
- 3
3. Create your first event
3. Create your first event
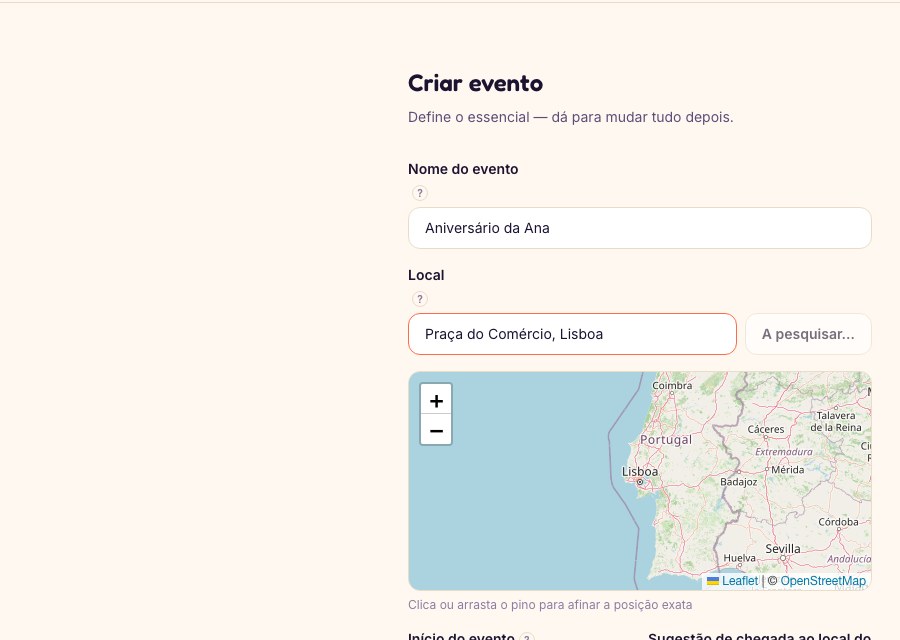
Give the event a name, type the location (the map finds the position automatically, or drag the pin to fine-tune it), and set the date/time. "Suggested arrival" is optional.
- 4
4. Explore the event page
4. Explore the event page
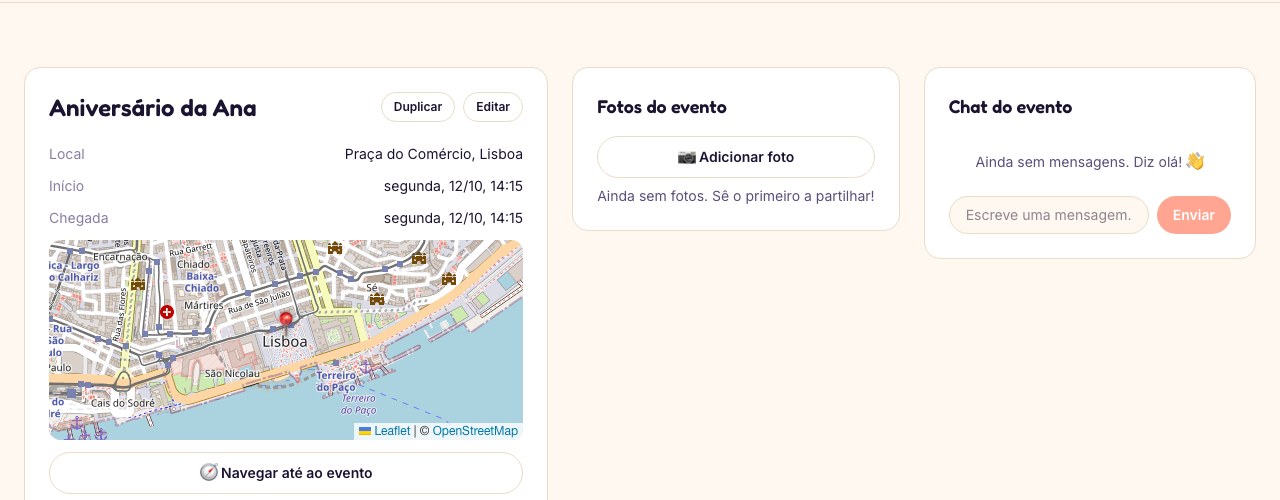
Everything lives here: a real-time map of each guest's journey, the event chat, the photo gallery, the Board (where the organiser posts announcements, tickets or a venue map), and your plan's limits. Whoever arrives gets marked automatically, and there's always an "I'm here" button to confirm manually.
- 5
5. Invite guests and contacts
5. Invite guests and contacts
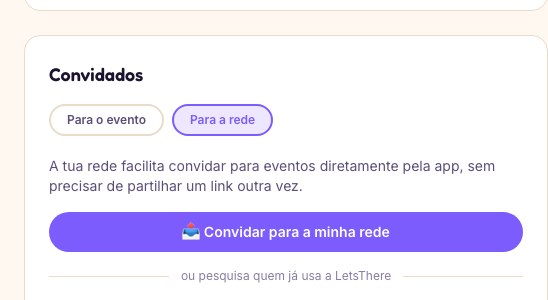
Invite directly to the event (email, WhatsApp, or from your contact network), or invite someone to your contact network to make it easier next time.
Ready to try it? Create your free account, no card needed.
Create account